
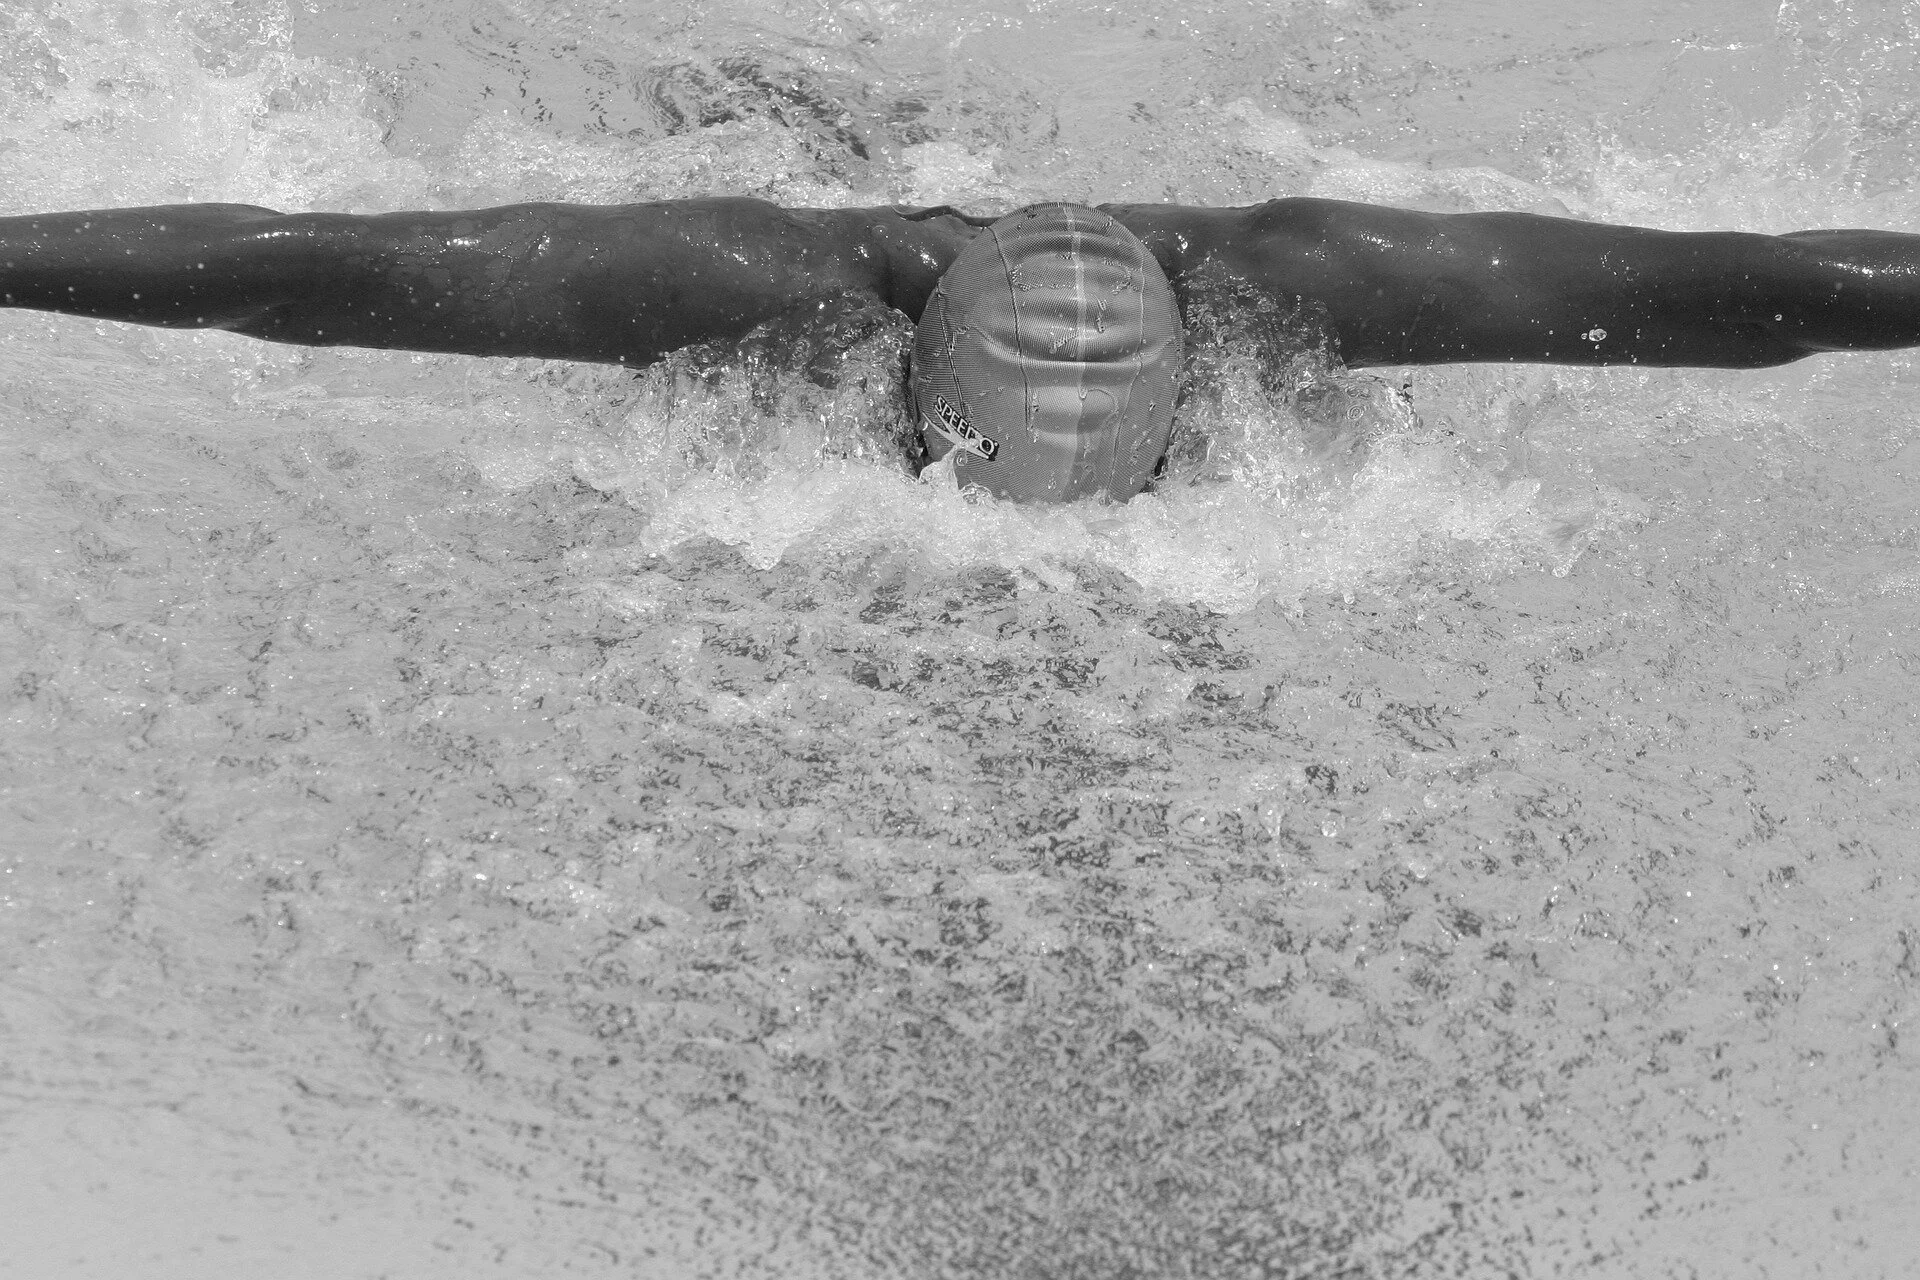
Swim: A coordinated trunk with mobile limbs
(Mobile users press “+” at upper right to see the menu.)
I have worked with many swimmers over the years, and they all have different concerns, but high on the list is always the shoulders. I have included a number of lessons here that help you connect the arms into the trunk. We will look at the collarbones, ribs, and upper back as they relate to the full functionality of the arms. Then, we will do a couple studies of the legs and the spine. You’ll feel super swingy in the limbs after this.
The collar bones are like the Wild West: a little scary to think about, but super rich once you get there. I say this because most of us have forgotten that we can move them. It’s like there’s superglue at the collar bone's connection to the ribs and all movement stops. This ingenious lesson creates movements that require you to move the collar bones without even knowing you’re waking them up.
This lesson is the puzzle lesson where you are sitting on the floor with your hand on the floor next to you. Pick up your hand and without unbending the wrist, place the hand on your belly. Without unbending the wrist. It's not anatomically hard, it's just hard to imagine.
I give this lesson to clients who can't move their arms or shoulders very well. Often, the stuck places are in the collar bones and ribs, not the shoulders themselves. Bonus: All that folding helps you with upright posture!
For a wonderful complement to this lesson, see:
172 Lift elbows, connect arms to back
130 Widening the chest
AY45
This is a slow, gentle exploration of lying on the front and adapting the arms, shoulders, and chest to help the head turn side to side. The movement includes lengthening the arms one up and one down while on the front side, then placing them at 90 degrees to the spine in the shoulder and again at 90 degrees at the elbow.
As you swivel to the other side, the constraint of the arms asks you to adapt in the ribs and spine to ease the turning. This lesson always softens the ribs and helps the easy turn of the head.
For more advanced lessons like this, see Arms integrate on stomach.
(A version of the “Egyptian arms” lesson.)
I just love this lesson. It helps you roll your arms, shoulders to swivel the entire upper back side to side. Then, you include your legs to create a whole-body integrated pattern. As you play with various patterns, you will find the easy, fluid, powerful action that generates force in the limbs from the trunk.
This is a bigger “connect ‘em up” lesson throughout the back, chest, legs, hips, arms—pretty much everything. It also affects walking as you are doing so many diagonal movements across the back. Notice how your legs and arms swing after this!
(similar to tonic effect of the head, Amherst 21 July 1980, week 7)
This lesson evokes the developmental stage of babies as they organize the trunk to move the limbs. Before we can refine motor control, we have to figure out how to relate to gravity.
Most adults forget this fundamental skill because nuanced motor control in the limbs makes us look “intelligent” when, in fact, the bigger muscles of the trunk require just as much refinement. We feel it when we’re disorganized: It shows up as fatigue in walking, sitting, and standing.
I love, love, love this lesson because it feels even with folding both forwards and backwards. Plus, it’s slow and yummy, even though you are, no question, using big muscles to move your trunk.
This is a sophisticated, subtle lesson that helps connect the legs into the back. You lie on the side and hold the top leg below the knee, then start to swing and arc the leg in different patterns, but as your hand is connected, you are invited to move the spine.
The puzzle of how to move the spine to articulate the leg with such a strong constraint asks for a new kind of flexibility in your spine—otherwise, you get stuck. Think of it as good feedback for changing your strategy. Don’t force the movement, play with changing your trajectory, timing, speed, or force. In other words, wiggle in a different direction. Then, smile!
You will also focus on the tanden, the point just below the navel and a couple inches inward. As you move the leg, the breath and the tanden become one. Mindfulness of the tanden creates a quality of movement that is not abrasive or sharp, it must become fluid and smooth.
Moshe says in this lesson,
“And more important than anything, during the movement pay attention to the movement of the tanden so the movement itself becomes secondary. Everything is done against the background of listening to the stomach.”
This lesson is wonderful for walking and cycling, but I put it here in swimming because of the bending of the spine and the fluid movement of the hips and legs.
(AY351)
I love this lesson because it wakes up all the places I didn’t know I was holding in the the mystery zone between the shoulder blades. The arms are overhead, sliding side to side. This invites movement in the upper back and spine. You do many variations of the head toward and away from the arms, connecting the mid-back to the position of the arms.
Then, you make a “hoop” with the legs by touching the soles of the feet together. Sliding the legs side to side will flatten out the back and shoulders, helping you let go of tension all across the back.
Tip: If you can’t reach the floor with your arms overhead, raise the floor with a blanket. There is no benefit in forcing the arms to the floor, and even less in holding them up. They need to be supported and resting comfortably.
For similar lessons to unwind the back, see:
49 Hoop arms
81 Arms, legs, torso bending
I love this lesson: It is a slow, expanding understanding of how power is distributed from the big muscles of the pelvis up through the upper trunk.
You’re in a twisted position, the shoulders on the floor, the legs bent to the side. Sliding the arms down invites the upper back to bend. You grow the movement down the spine until you realize you didn’t have to work so hard to move the shoulders after all.
Awareness of the big muscles of the trunk is beneficial for all of us, particularly athletes who want to move more efficiently, with less wasted energy.
For a similar lesson, see 118 Mobilize pelvis to carry the legs.
(Esalen, CD3, Centering For Strength In Pelvis & Intelligence In Extremities)
This lesson is good for unwinding tension across the back. You are on the side and yes, you really do circle both arms, like a helicopter. I've had golfers improve their swing with this lesson, as well as tennis players.
At the end of this lesson, you are slightly twisted with the arm behind and the leg in front. Then, you counter-weight the arm and leg to create a rocking movement through the vertebrae. The see-saw movement of the arm and leg help lengthen and unravel the micro-holding we all do in between the ribs. It's a wonderful hack for feeling flatter, wider, and more relaxed across your back. Plus, the circling movement of the arms allow you to feel more upright, with a soft face and relaxed breathing.
For more of the seesaw spine movement, see 377 Seesaw and push hip forward.
Also, see the twisting lessons to improve flexibility in the spine.
(SF yr 2)
Feel how the tone of the belly affects your ability to move the arms and position the head on top of the spine. This lesson has lots of seesaw movements of the belly and the chest. It’s a good practice so that the diaphragm is free to move.
This lesson has many repetitions in many positions. I use the arms as a reference here, helping you see how flexible ribs and a long belly enable light, unencumbered arms. You will feel longer, taller, and lighter after this.
(SF evening class #1, Better breathing)
More for swimming:
The Amphibian series under longer series from trainings. This will really, really invite light, easy limbs—not by increasing your strength, but by increasing your innate kinesthetic intelligence.
The Diagonals section to improve the natural crisscross of human movement.
The Reaching like a skeleton series for an unbelievably clear connection of the arms.
And these individual lessons:
212 Ear to hand, relate neck and upper back
62 Soften upper back and shoulders with goal-post arms
63 Rotate arms, clarify shoulder blades
454 Rolling arms, sensing chest
“The floor as a teacher. The problem isn’t muscular, it is the “command mechanism” (the nervous system) which is why you do not improve through exercise alone. Only the floor can teach a person to hold his back softly so he can roll without any pain.”